The need for Venetian plaster wall and ceiling on Italian homes and beyond is on the rise, and each day more people are embracing the uniqueness of this interior.
But the question of “How to” apply a Venetian plaster to achieve the mind blowing luxury end result is the most asked.
And in this article we are going to cover just exactly how you can apply your Venetian plaster.
Before we proceed any further, it’s important to understand that the application of Venetian polished plastering is totally different from the procedure required to achieve regular painting or wallpaper installation.
And in most cases required to get professional services, but just in case you decide to do it yourself,these are the exact steps required to take.
Get Your Tools/Equipment Ready
Just like any other work of art, understanding the right tools required of you will set you apart.
Here are tools you’ll need for your polished plastering
Hawk
Venetian plaster
Steel trowel or 4- to 6-inch drywall
Mutton cloth
Work gloves
Eye protection
Dust mask
Dust sheets
Prepare Your Wall And Ceiling For Polished Plastering
Preparing your wall and ceiling ahead will make your work a lot easier.
And you can prepare your wall by;
Smoothing your wall surface (fill holes and rough surfaces)
Clean first, repair cracks and ensure the edges of your wall are put together to give your wall a smooth outlook
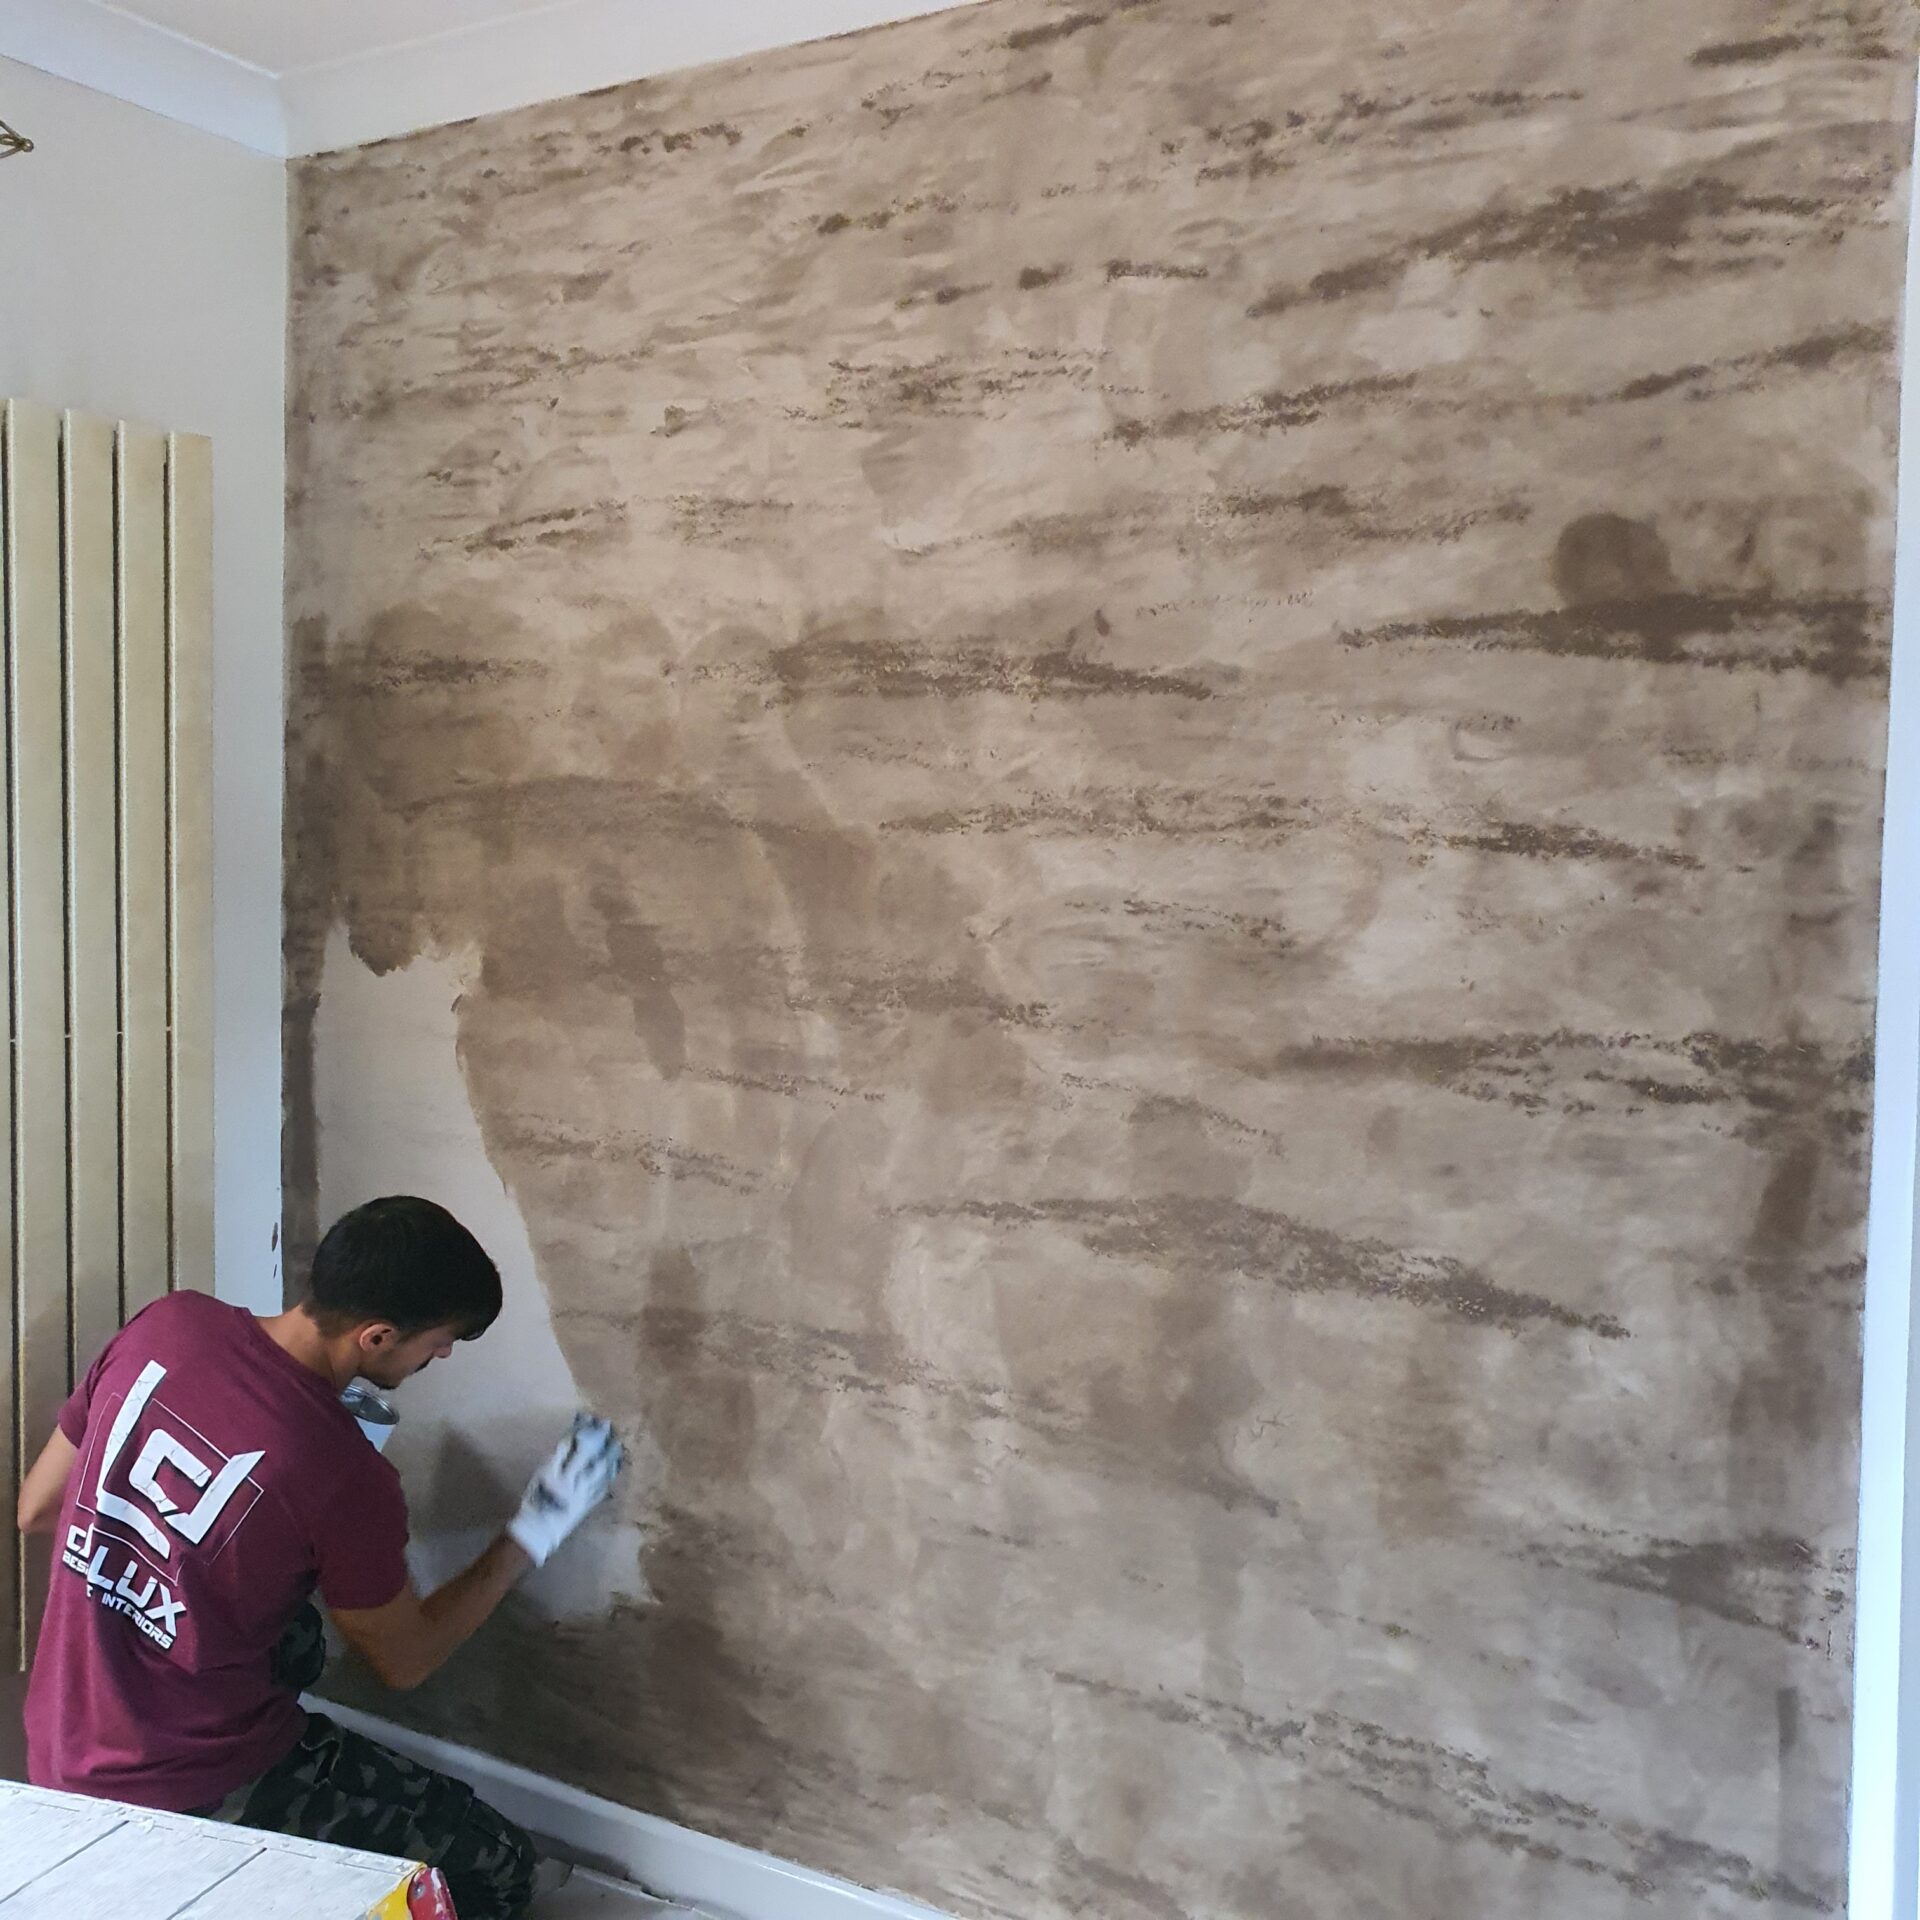
Time To Apply Your Plaster
Start With The First Coat
Apply your plaster starting from the corner of the room and apply your way in.
Pay less attention about covering every surface of the wall at this level, your goal is to smoothen the wall surface with your hawk and trowel using a little quantity of plaster.
Go in with second coat
After your first coat must have dried for about 16 hours, it’s time to give it a smoother look with the second coating
What you’re going to do here is to cover your first coat, and how smooth your first coat was will determine the result of your second coat.
Use the drywall knife or trowel to apply and leave it to dry for about 24 hours
Top coat
At this point you’re ready to take things to the next level by top coating your wall.
To top coat your Italian polished wall, use the same method you used to second coat.
Apply and allow to dry for about an hour.
Finishing

Your finishing is your final outlook and the decision you make here matters a lot.
They are different finishing you can choose to go for your Venetian polished plaster.
Though Anybody Can Practice Venetian Plaster, But Achieving The Luxury Outlook Of An Italian Home Is An Art That Requires The Expertise Of Professional Craftsmen.
And if your plan is to give your home that feel of luxury and exquisite contact deLux Bespoke interior today to get started
Get in touch and get started


